
Set Up Okta Verify for VISTA
Step-by-step instructions
Stages that need to be completed on your smartphone are labelled [Phone] and pages that need to be completed on your computer are labelled [Computer].
1. [Phone] Download the Okta Verify App from the Apple App or Google Play store onto your smartphone.

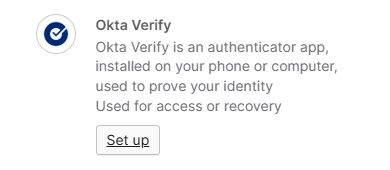
3. [Computer] Click the ‘Set Up’ button under Okta Verify.
4. [Phone] Open the Okta Verify app on your smartphone.
a. Tap 'Get Started' and follow the prompts.
b. Tap ‘Add Account...’ or tap the ‘+’ (plus) icon in the top right corner. (Phone make and model may vary instructions)
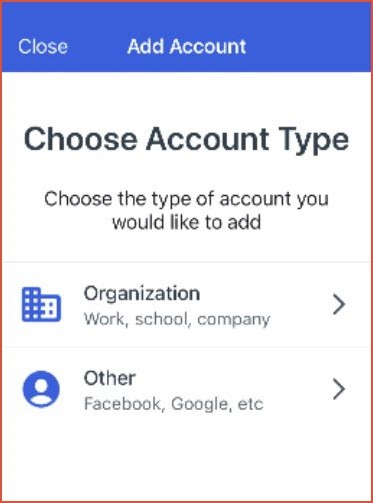
5. [Phone] Under ‘Choose account type’, select ‘Organization – work, school, company’.If asked to 'Add account from another device', tap Skip.
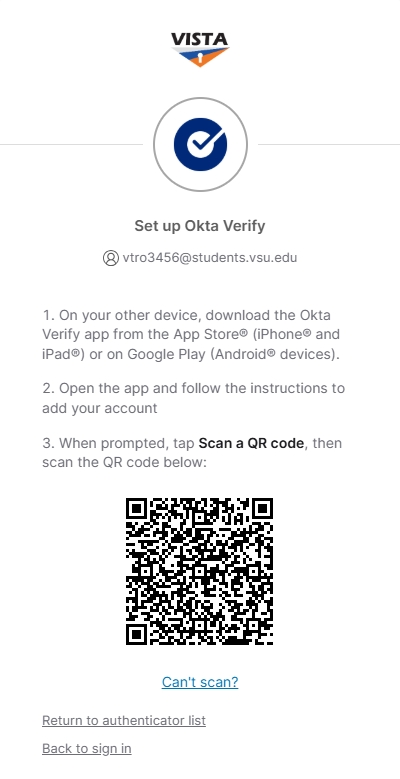
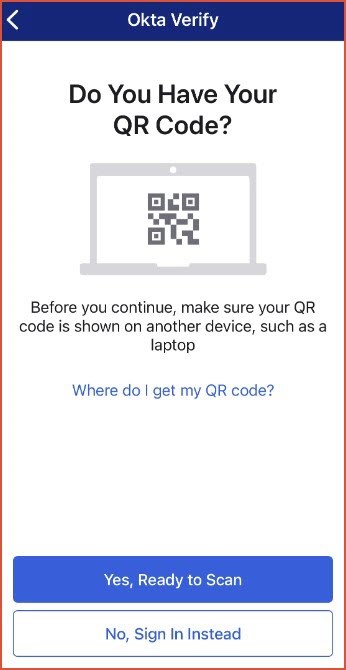
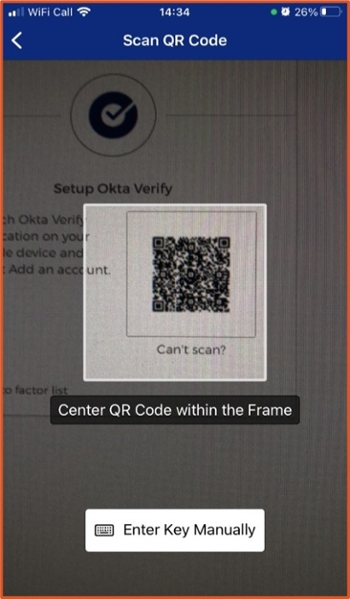
6. [Phone] Tap ‘Yes, ready to scan’.
7. [Phone] Position your phone camera over the QR code that’s open on your computer screen and wait for it to register.
9. The Okta Verify app will now display your user account.
Set up and use a push notification.
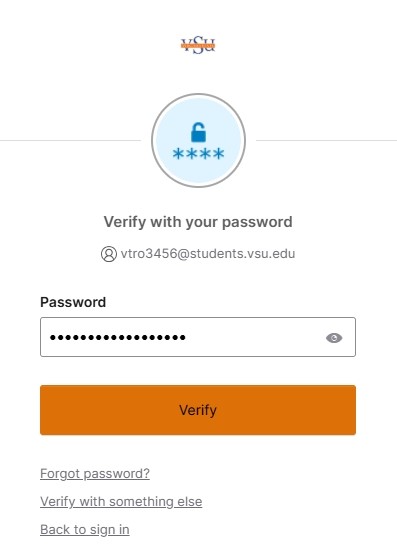
1. [computer] Log into VISTA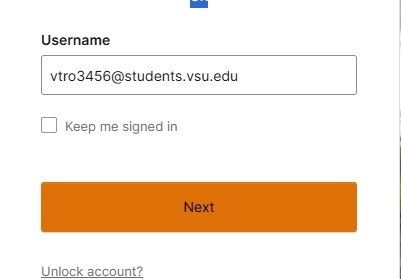
3. [computer] Select "Get a push notification"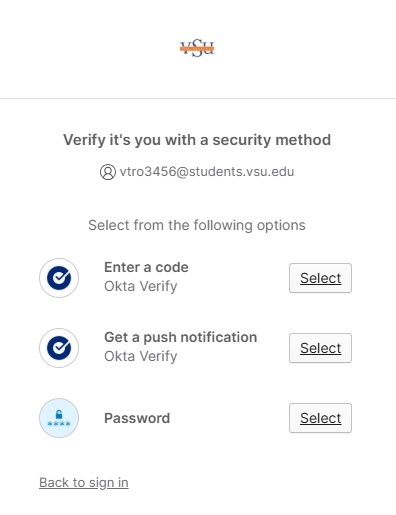
4. [phone] Your phone will then ask you for confirmation click "Yes it’s me"
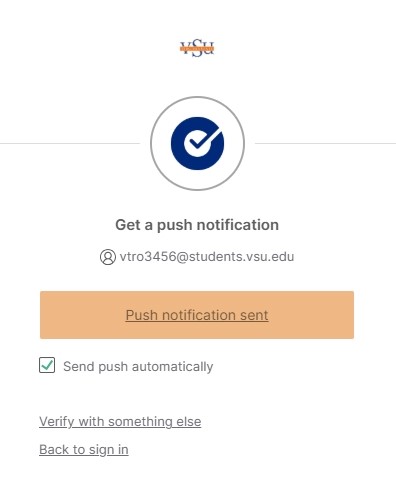
5. [phone] You will be asked for your phone pin, or biometric confirmation.
Once this is complete, you will be logged into VISTA and push notification will be the default option.
Thanks for setting up your authenticator, you’re all done. If you experience any issues using your authenticator when prompted, please contact the IT Service Desk by visiting the ITS Help Page.